Hexo 部署手册
Hexo搭建步骤
- 安装Git
- 安装Node.js
- 安装Hexo
- GitHub创建个人仓库
- 生成SSH添加到GitHub
- 将hexo部署到GitHub
1. 安装Git
1 | sudo apt-get install git |
安装好后,用git --version 来查看一下版本
2. 安装nodejs
1 | sudo apt-get install nodejs |
检查一下有没有安装成功
1 | node -v |
顺便说一下,windows在git安装完后,就可以直接使用git bash来敲命令行了,不用自带的cmd,cmd有点难用。
3. 安装hexo
1 | npm install -g hexo-cli |
依旧用hexo -v查看一下版本,至此就全部安装完了。
接下来初始化一下hexo
1 | hexo init myblog |
这个myblog可以自己取什么名字都行,然后
1 | cd myblog //进入这个myblog文件夹 |
使用命令 hexo server 可缩写hexo s启动服务
1 | $ hexo server |
部署项目到Github远程仓库
- 修改配置文件 _config.yml
1 | # Deployment |
- 操作命令
1 | $ npm install hexo-deployer-git --save #安装部署工具 |
4. GitHub创建个人仓库
登录Github新建一个仓库,仓库名必须为你的Github用户名.github.io 例如: 我的用户名是:Lete 那么格式因该为:lete.github.io

远程仓库开启 github pages,指定分支为上述提到的web

5. 生成SSH添加到GitHub
安装成功后,将 git 与 GitHub 账号绑定,右键打开 Git Bash,然后设置配置信息:
1 | # 配置用户名和邮箱 |
比如我的配置就是:
1 | git config --global user.name "2757412961" |
接着生成 ssh 密钥文件,输入如下命令后直接三次回车即可,一般不需要设置密码;
1 | # 生成 ssh 密钥 |
我生成秘钥的命令:
1 | ssh-keygen -t rsa -C "2757412961@qq.com" |
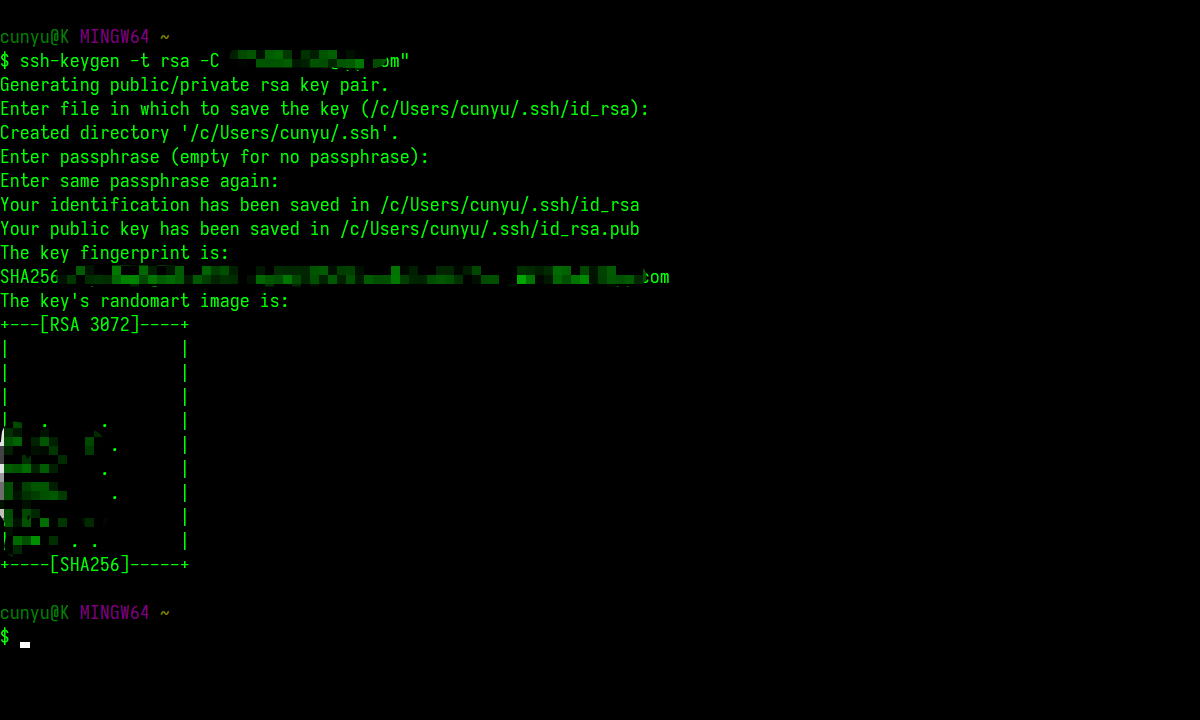
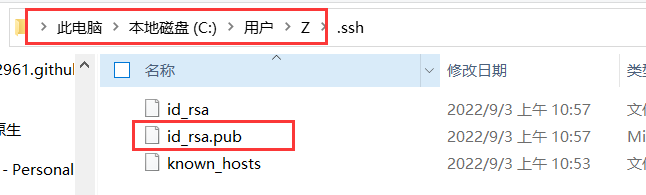
一般执行上述命令之后,会生成 id_rsa 和 id_rsa.pub 两个文件,前者是我们私有的,而后者则是对外开放的。接着找到生成的 .ssh 的文件夹中的 id_rsa.pub 密钥,将内容复制;
然后打开 GitHub-Settings-Keys 页面,创建一个新的 SSH key,填写 Title 和 Key,Title 可以随意,而 Key 的内容则是我们刚才复制的 id_rsa.pub 中的内容,最后点击 Add SSH key 即可;

6. 将hexo部署到GitHub(手动)
这一步,我们就可以将hexo和GitHub关联起来,也就是将hexo生成的文章部署到GitHub上,打开站点配置文件 _config.yml,翻到最后,修改为 YourgithubName就是你的GitHub账户
1 | # Deployment |
然后
1 | hexo clean && hexo generate && hexo deploy |
7.GitHub Actions(自动)
1 | 就是DevOps,可以理解成 GitHub 通过一些流水线的配置(CI/CD),然后在本地推送代码的时候触发流水线执行,自动部署站点。 |
7.1 新建 .github/workflows/pages.yml 文件
修改
1 | # 触发器、分支 |
1 | name: Pages |
7.2 修改 _config.yml 文件中的Deploy配置
1 | # Deployment |
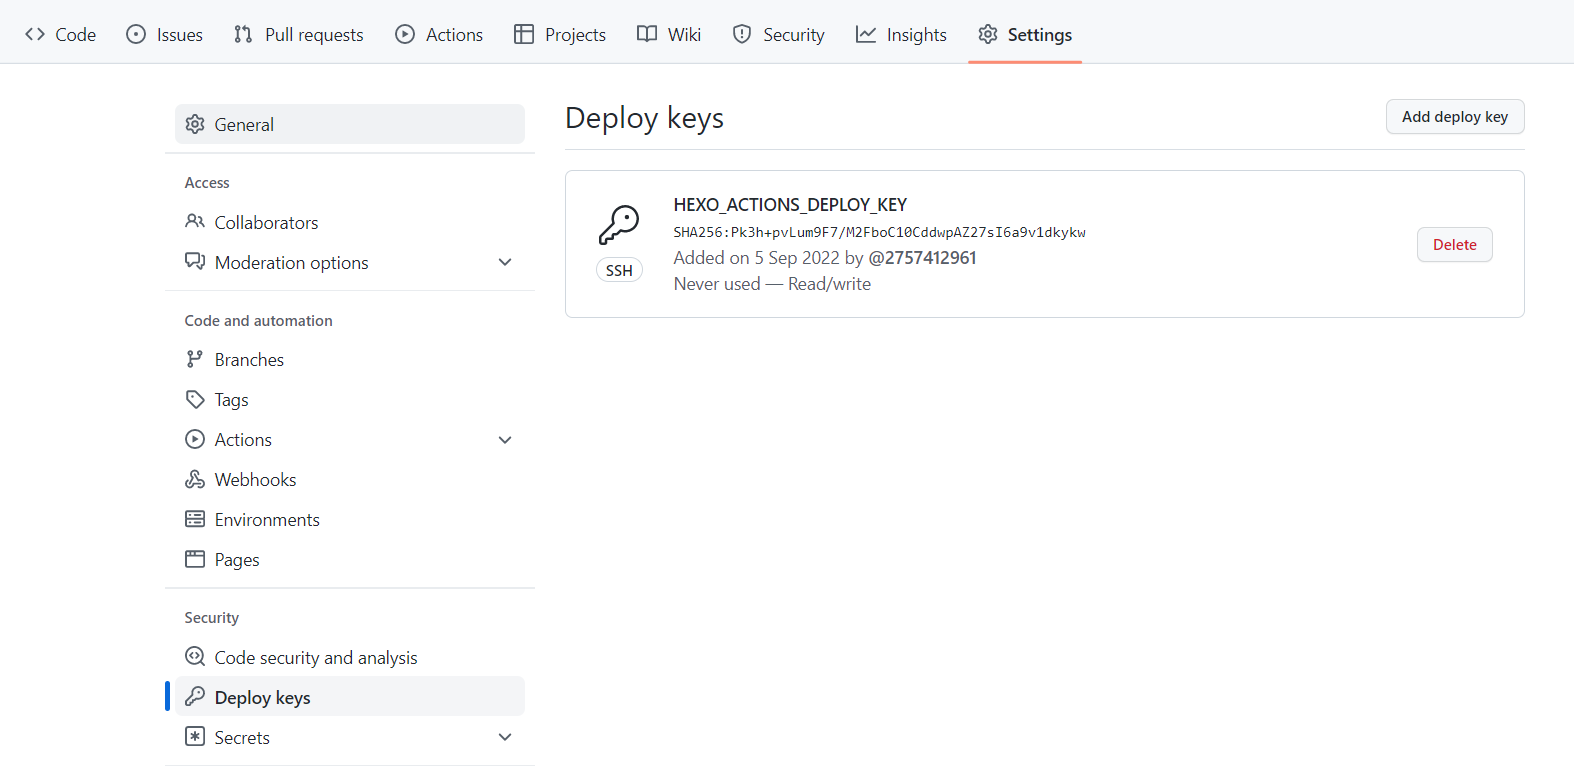
7.3 设置 deploy_key
拿到第5步中生成的密钥。
id_rsa私钥id_rsa.pub公钥
转到Deploy Keys并使用Allow write access添加您的公钥id_rsa.pub,name写为HEXO_ACTIONS_DEPLOY_KEY,指定用途,方便后面维护
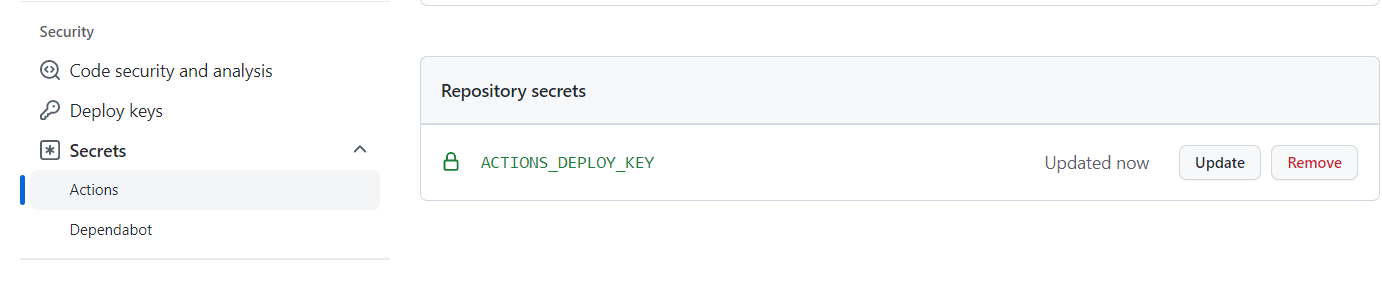
转到Actions secrets并将您的私钥 id_rsa 添加为 ACTIONS_DEPLOY_KEY(这个名称在yml文件中需要使用)
7.4 启动 Git Action
本地仓库直接push,触发 GitHub Actions 自动构建发布

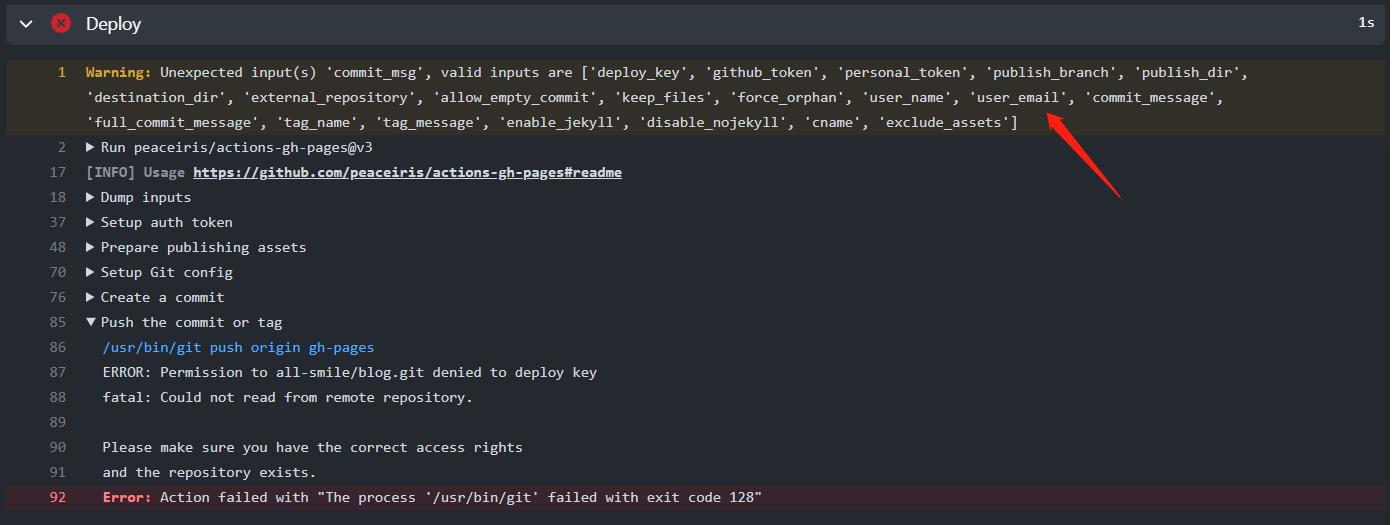
7.5 非法输入值
在 pages.yml 文件的 Deploy 步骤下,发布的时候需要一些参数配置,这些参数名是指定好的,不可以随便写,比如 commit_msg应该使用 commit_message
Warning: Unexpected input(s) ‘commit_msg’, valid inputs are [‘deploy_key’, ‘github_token’, ‘personal_token’, ‘publish_branch’, ‘publish_dir’, ‘destination_dir’, ‘external_repository’, ‘allow_empty_commit’, ‘keep_files’, ‘force_orphan’, ‘user_name’, ‘user_email’, ‘commit_message’, ‘full_commit_message’, ‘tag_name’, ‘tag_message’, ‘enable_jekyll’, ‘disable_nojekyll’, ‘cname’, ‘exclude_assets’]